🍾Why and how to build and launch Water Rockets
Water rockets are a useful tool for university students because they offer a practical and engaging way to learn about a variety of physics concepts. For example, students can use water rockets to study the principles of motion and force, including Newton’s laws of motion, momentum, and energy.
How does a water rocket works?
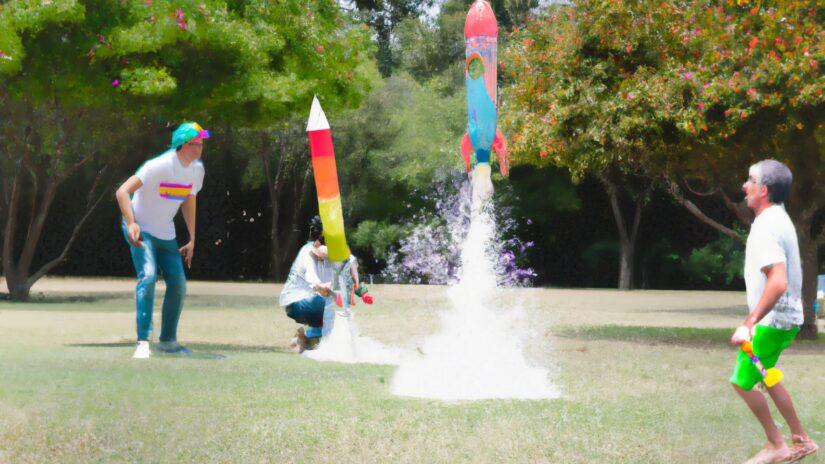
Water rockets work by using water and pressurized air to launch a rocket into the air. The pressurized air is created by pumping air into the water rocket using a hand or electric pump, which increases the pressure inside the rocket and causes the water to be expelled out of the nozzle, propelling the rocket into the air.
This process allows students to directly observe and measure the effects of different variables on the motion of the rocket, such as the amount of water and air in the rocket, the size and shape of the nozzle, and the angle at which the rocket is launched.
In addition to providing hands-on experience with key physics concepts, water rockets also foster critical thinking and problem-solving skills. Students must design and build their own rockets, which requires them to apply their knowledge of physics in a creative and practical way. They must also troubleshoot any problems that arise during the launch process, which can help develop their critical thinking and problem-solving abilities. You can also experiment with different designs and materials to improve your rocket’s performance and learn more about the science behind rocketry.
How to build a water rocket
To build a water rocket, you will need the following materials:
- Empty soda bottle (1-litre size)
- Bicycle pump or other air pumps
- Launchpad (can be made from PVC pipe or other materials)
- Water
- Duct tape
- Scissors or knife
- Masking tape or other decorative materials (optional)
To begin, you will need to prepare your soda bottle by cutting off the top portion of the bottle, just below the shoulder. This will create the rocket body and the nozzle. You can use a knife or scissors for this step.
Next, you will need to create the nozzle for the rocket. To do this, use duct tape to seal the open end of the bottle. Then, using a sharp object like a nail or the tip of scissors, carefully make a small hole in the centre of the duct tape. The hole should be just big enough for water to pass through, but not so large that air can escape.
Once you have prepared the bottle and nozzle, you can begin to assemble the rest of the rocket. First, attach the launch pad to the bottom of the bottle using duct tape. You can make the launch pad out of PVC pipe or other materials, but it should be sturdy enough to support the weight of the rocket when it is filled with water and pressurized air.
Next, fill the bottle with water using a hose or other water source. Be sure to leave enough space at the top of the bottle to allow for the pressurized air. You can use a funnel or other tool to help control the flow of water.
Once the rocket is filled with 1/3 – 1/2 water, you can attach the air pump to the nozzle using a piece of duct tape. Make sure the air pump is securely attached and that the nozzle is open.
To launch the rocket, simply press the air pump to pressurize the bottle and then release the nozzle to launch the rocket into the air. You may need to experiment with the amount of water and air in the rocket to find the best launch conditions.
You can also decorate the rocket using masking tape or other materials to make it more visually appealing.
Overall, building a water rocket is a fun and engaging activity that can help teach students about physics and engineering. With a little creativity and some basic materials, anyone can build their own water rocket and launch it into the sky.


